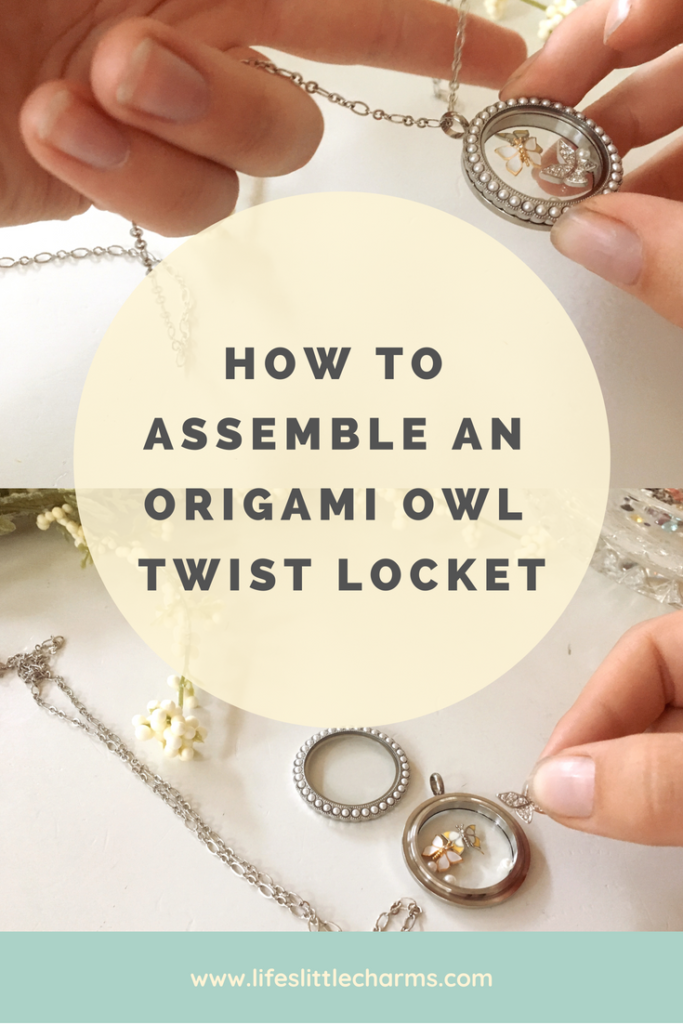
It’s Tutorial Tuesday!
Today’s Lesson: how to put together your Origami Owl Twist Locket.
Watch the video below for step by step instructions on how to assemble your twist locket.
Not interest in watching a video? No problem, just follow along with the photos below!
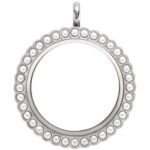
- Start with all pieces disassembled. (this is usually how it comes delivered in the mail)l

- Place charms in locket base (the deeper piece with the bale on top)

- Lay face, pretty side up, flat on top of the base.
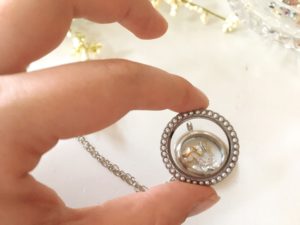
- Twist CLOCKWISE until tight. Once face is tight, give it one more good twist to make sure it is secure.

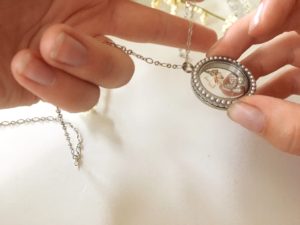
- Thread chain through the bale.
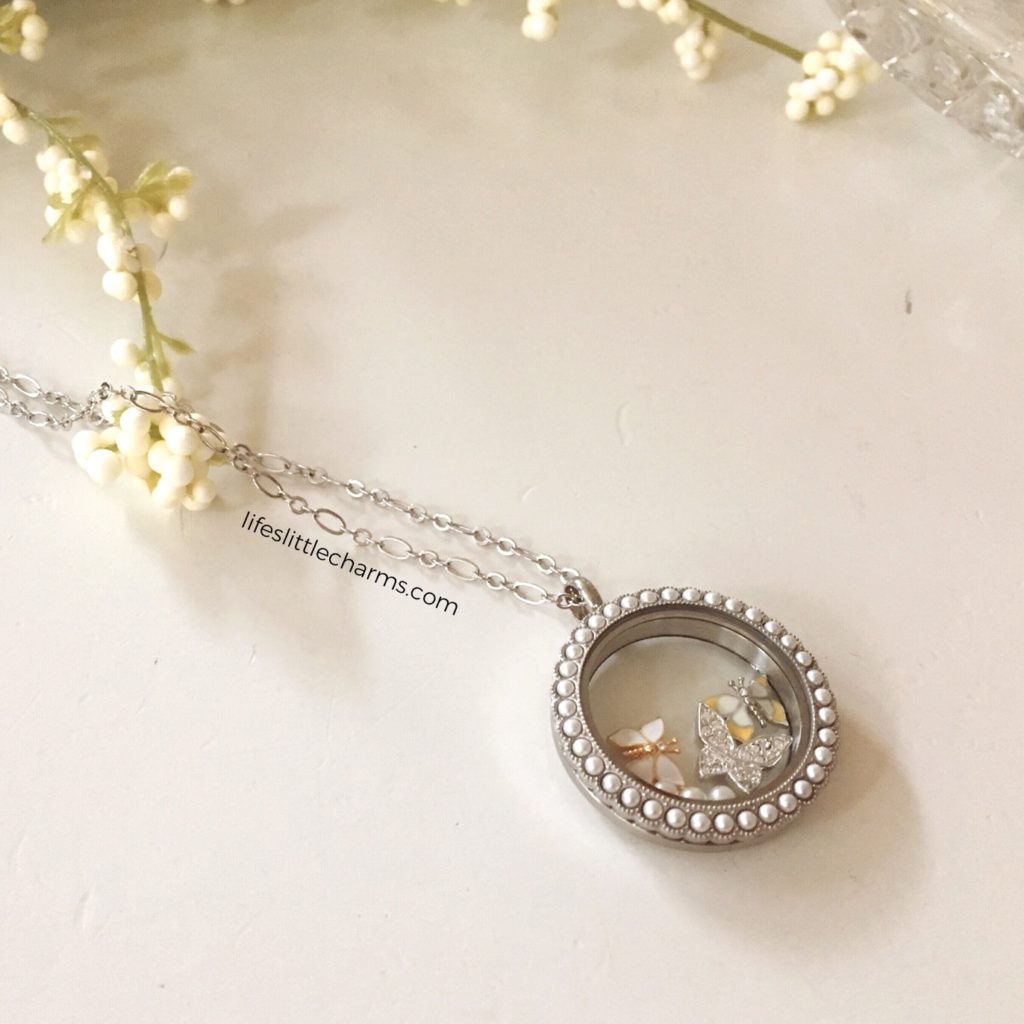
- All done! You are ready to wear your locket!

- To change out your charms, simply twist the face COUNTERCLOCKWISE. It will be a little tight at first and may require a little effort, but once it loosens it will twist right off. Take your charms out, and repeat steps 1-6.
Shop this look by clicking the icons below:

Now you’re a pro! Keep changing your charms as your life changes. Use the hashtag #lifeslittlecharmsblog on Instagram to share your lockets with me.
You must be logged in to post a comment.